


Before I begin I would like to clarify that this post is full of carbohydrates and no Tim Noakes! I don’t do Banting as my Greek genes overwhelm every thought of cutting carbs from my eating plan. I do think my jeans might benefit from me banting, but in the same breath – I do not think it will ever happen!
So while everyone else is busy banting I am busy bunting! I am not a serial Bunter, but I Bunt when I need to.
NOTE: I am pretty sure these are not real words, but as “bootilicious” can make it into the dictionary maybe “bunter” can as well.
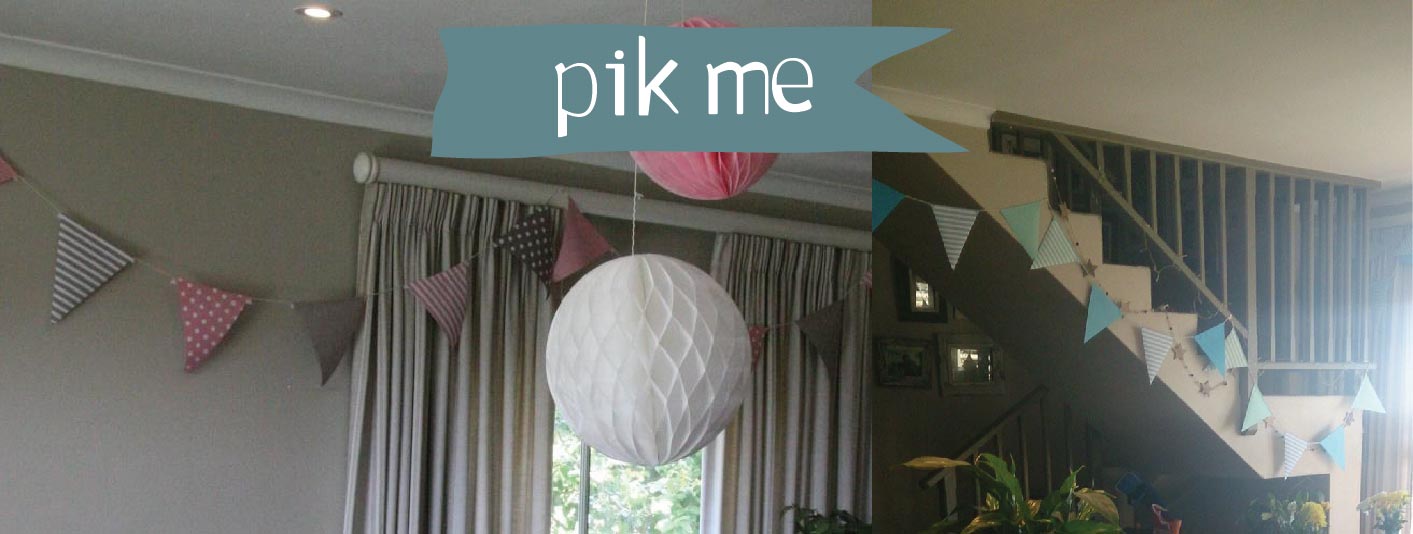
I love the look of bunting hanging beautifully from the ceilings and walls to decorate a special occasion, or for that matter any occasion. However my first introduction to bunting was far from the pretty that we all know now. About 15 years ago when I started working at an Incentive Travel company the only bunting that was around was the ones that you could find on a cruise ship and the ones you had to make for your client with their company logo all over them (not so pretty). Thankfully a creative brain can change something not so pretty into something really pretty! Bunting can be made of any material you wish/like and in any shape you like. I love the traditional triangle bunting and have a few new materials I want to try and make bunting out of as soon as I have time (interpretation: It is going on my long list of “want to do’s”) and hopefully I will be able to show something on my blog when it is done one day.
I have had a number of parties that I have done that I have used bunting for decorations. I thought I would share how to make some easy-peasy paper bunting
You will need:
- A stencil of your bunting shape(will explain how to make one below)
- Sheets of different coloured paper
- Scissors
- Glue stick
- String
For the stencil: Cut out of hard cardboard the shape (triangle, circle, square) you would like your bunting to be. This will be your “master” and you can keep it for all future bunting.
How to make it:
- Lay the paper out on a flat surface with the front to the bottom. If you have very thin paper you can even layer your paper on top of each other.
- Mark your triangles with a pencil. Try to get as many triangles in next to each other in order not to waste paper.
- Cut the triangles out with a sharp scissors.
- Once you have all your triangles you can start to paste them onto the string.Your length will be determined by how much string you are using.

How to make bunting
Tips:
- If you are measuring a space to put the bunting up, take into account that bunting hangs. You will thus need to make your string at least half to three-quarters longer than your measured space.
- Vary your patterns and even the colours of your paper to create interesting bunting
- Eat at least one piece of carbohydrates whilst doing your bunting ….preferably a piece of cake
When you have your next party and wonder how to quickly do up the room….BUNT!!!
Can I skip the bunting and just have the cake?
Absolutely!!! I can whip up some cheesecake cupcakes and we can look at the paper and scissors whilst eating them!